Efficient Ceiling Fan Installation Experience the Difference
When it comes to home comfort, few things rival the efficiency and ease of a well-installed ceiling fan. A ceiling fan can transform the atmosphere of a room, providing a cooling breeze in the summer and a gentle air circulation during the cooler months. To fully benefit from these advantages, however, it is crucial to focus on an efficient installation process. Efficient ceiling fan installation is not just about putting up the fan and flipping a switch. It involves careful planning and precise execution to ensure the fan operates at its best. The first step in the installation process is choosing the right fan for your space. Consider the size of the room, the height of the ceiling, and the fan’s design. Fans come in various sizes and styles, each suited to different room dimensions and aesthetics. A small fan in a large room may not provide sufficient airflow, while a large fan in a small room could be overpowering.
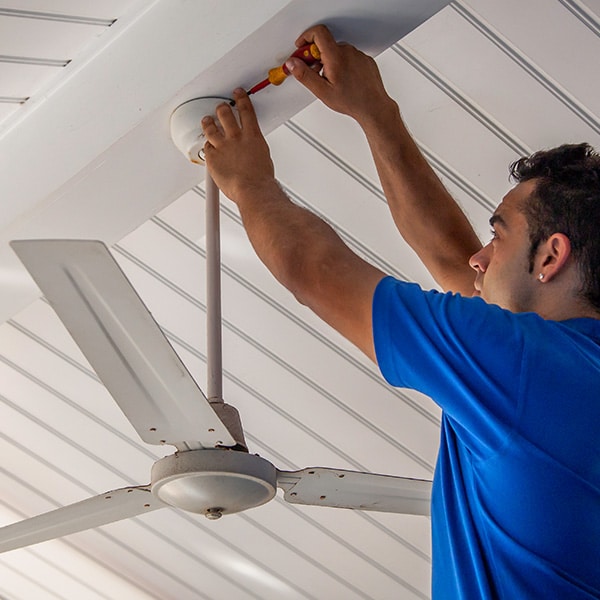
Once you have selected the ideal fan, preparation is key. Ensure that the location where you plan to install the fan has a sturdy ceiling mount that can support its weight. If your ceiling is not already equipped with a ceiling box designed for fans, you will need to install one. This step is critical for safety and functionality, as a standard light fixture box might not be able to handle the vibrations and weight of a ceiling fan. When you are ready to begin installation, visit the site start by turning off the power at the circuit breaker to avoid any electrical hazards. As you assemble the fan, carefully follow the manufacturer’s instructions. Most ceiling fans come with a detailed guide that includes step-by-step directions for wiring and mounting. Pay special attention to the wiring connections, ensuring that the fan’s wires are securely connected to the corresponding wires in your ceiling. For many, this can be the most challenging part, so if you are unsure about the wiring, it is wise to consult a licensed electrician.
 Mounting the fan involves attaching the fan’s mounting bracket to the ceiling box and then securing the fan assembly to this bracket. Many modern ceiling fans come with a hugger design, which means they are closer to the ceiling, making them ideal for rooms with low ceilings. For higher ceilings, a downrod extension can be used to achieve the optimal height for maximum airflow and efficiency. After the fan is mounted and wired, it is time to test it out. Restore power at the circuit breaker and turn on the fan to ensure it is functioning correctly. Check for any wobbling or unusual noises, which could indicate that the fan blades are not balanced or that there are issues with the installation. Most ceiling fans come with balancing kits to address minor wobbles, but if the issue persists, recheck the installation or consult a professional.